From Concept to Market: Hardware Product Development Process
Launching a new physical product is exciting, but the process is also complicated. Compared with software development, making hardware products is much more difficult. You need to turn simple ideas into real, physical components. No matter if you are a solo inventor or an engineer at a large company, learning about the full hardware product development process can help you cut costs and get your product to market faster.
6 Essential Steps in Product Development
1. Ideation & Conceptualization
The initial phase of product development focuses on defining the concept through market research and user analysis. During this stage, Industrial Designers (ID) typically establish the product’s aesthetics and ergonomics using 2D sketches and early 3D renderings. While the primary focus is on the external design, it is also necessary to evaluate overall technical and financial feasibility.
2. Engineering Design (Mechanical & Electrical)
Once the conceptual design is approved, the project transitions into the detailed engineering phase, where Electrical Engineering (EE) and Mechanical Engineering (ME) typically proceed concurrently.
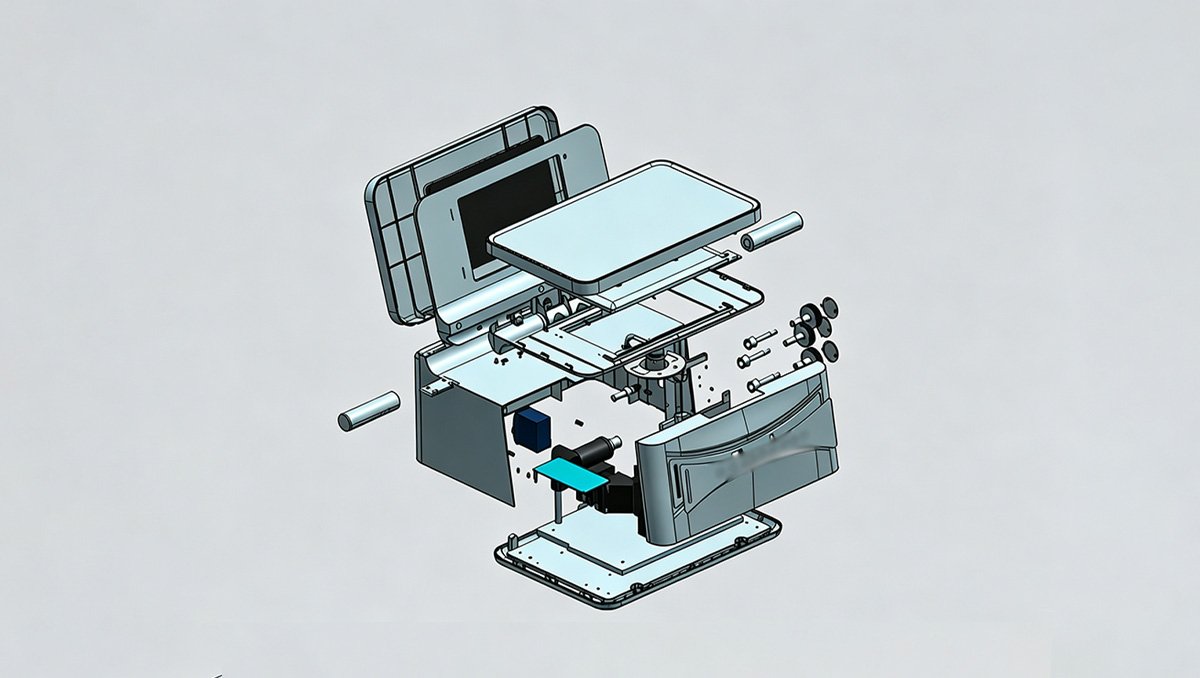
On the electrical side, engineers develop the system architecture, select components, and design the Printed Circuit Board (PCB) layout. Concurrently, mechanical engineers use 3D CAD software to design the physical structure and enclosure. A critical aspect of this phase is ensuring the mechanical housing properly accommodates the internal electronics—this involves designing precise mounting bosses for the PCB, aligning I/O ports, and managing thermal dissipation.
During this mechanical CAD modeling, Design for Manufacturability (DFM) is essential. When designing enclosures and structural parts intended for CNC machining, it is important to account for machining constraints early on.
Need Design Support?
If your project is currently just an idea or a basic concept, you don’t need finished CAD files to get started. You can contact us for full-service design support. Through our network of professional product design partners, we can facilitate both the Industrial Design (appearance) and Mechanical Engineering (structure) phases, helping you translate your initial concept into a fully manufacturable product. Contact Us to Discuss Your Idea.
3. Rapid Prototyping & Design Verification
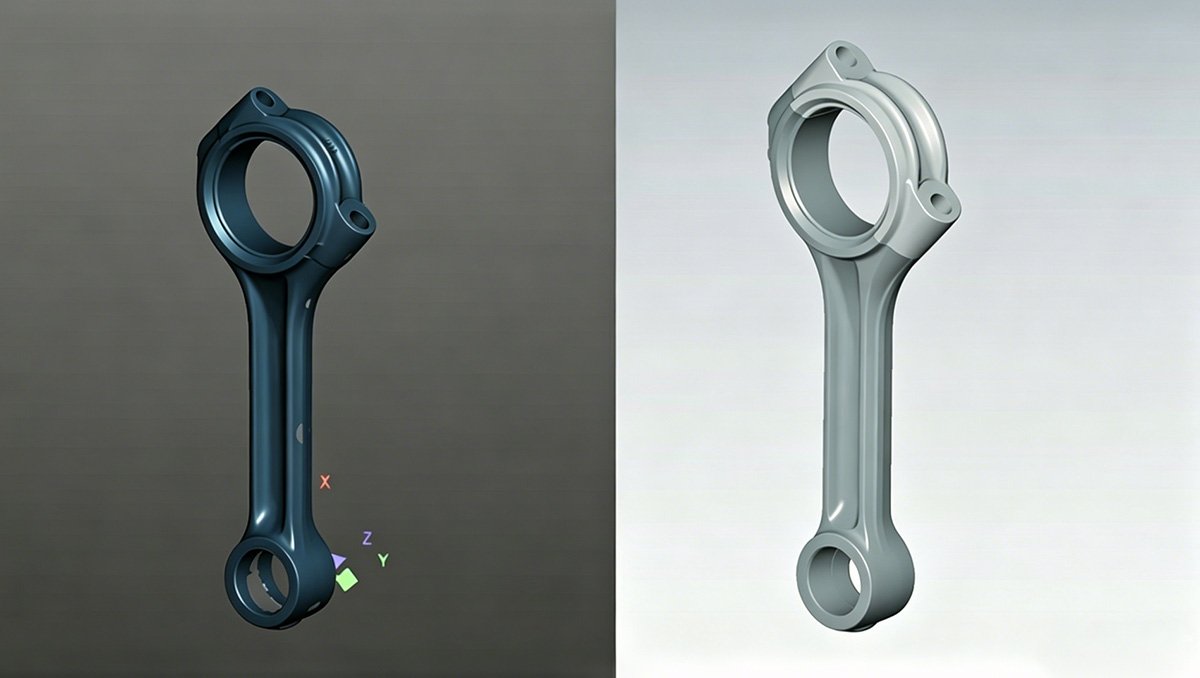
Once the mechanical design is complete, the focus shifts to physical validation. Many engineering teams begin this phase with 3D printing. It serves as a rapid and cost-effective method to verify the basic structure, check how components fit together (form and fit), and identify any obvious design flaws.
After the initial structural verification is successful, the next critical step is creating a high-fidelity functional prototype. This is where custom CNC machining becomes essential. While 3D printing is useful for shape verification, CNC machining allows you to produce a prototype that is virtually identical to the final production unit. By machining the part from end-use materials (such as metal alloys or engineering plastics), you achieve the mechanical strength, tight tolerances, and surface finishes required for real-world testing, certification, and final stakeholder approval.
4. Testing & Iteration
No product is perfect on the first try. After obtaining the prototype, you will conduct a series of functional tests, durability tests, and user experience tests to identify flaws, defects, or areas for improvement. Based on the test results, you will revise the CAD design, adjust parameters, and create a new prototype—repeating this process until the product meets your expected standards.
CNC machining is not only ideal for single prototypes but also the perfect choice for low-volume manufacturing. Before investing tens of thousands of dollars into injection mold tooling, many companies use our CNC machining service for low-volume production (50 to 500 units). It allows you to get real products into the hands of early adopters, gather feedback, and start generating revenue without the high upfront tooling costs. Our CNC machining service supports flexible production volumes, with consistent precision and quality across all units—helping you minimize risk while testing the market.
5. Bridge to Production
After the prototype passes all tests and the design is finalized, it’s time to transition from prototype to formal production. Before investing tens of thousands of dollars into expensive injection mold tooling, many companies choose low-volume manufacturing to test the market—producing 50 to 500 units to verify market acceptance, gather user feedback, and generate initial revenue.
6. Mass Production
Once low-volume production confirms market acceptance and the product design is fully optimized, you can move on to mass production. At this stage, the focus is on improving production efficiency, controlling costs, and ensuring consistent product quality on a large scale.
Conclusion
In summary, the product development process from ideation to mass production is a systematic journey, where each stage plays a crucial role in ensuring the final product meets your requirements. From initial concept and mechanical design to rapid prototyping, testing, and low-volume production, every step requires careful planning and execution.
Our custom CNC machining services can provide support during key phases of this process, helping you turn digital designs into tangible products with consistent quality and reasonable costs. Whether you need functional prototypes or low-volume manufacturing, we provide suitable solutions to facilitate your product development efficiently.
Ready to move your project forward?
If you have specific project requirements, or if you need early-stage design support, please contact our team to discuss how we can assist you.
Share this article

Written by : Alex
A quick overview of the topics covered in this article.