
Prototyping Guide: CNC, 3D Printing, or Vacuum Casting?
Prototype manufacturing is an indispensable key link in the product R&D process—it not only converts abstract design drawings into touchable and testable entities, but also verifies the product’s appearance, structure and function in advance, avoids subsequent mass production risks, and shortens the R&D cycle. However, there are various manufacturing methods on the market, ranging from 3D printing to CNC Prototyping, and the precision, cost and delivery cycle of different methods vary greatly. Choosing the wrong method will not only increase R&D costs, but also may delay the project progress.
3D Printing vs CNC vs Vacuum Casting
3D Printing Prototyping
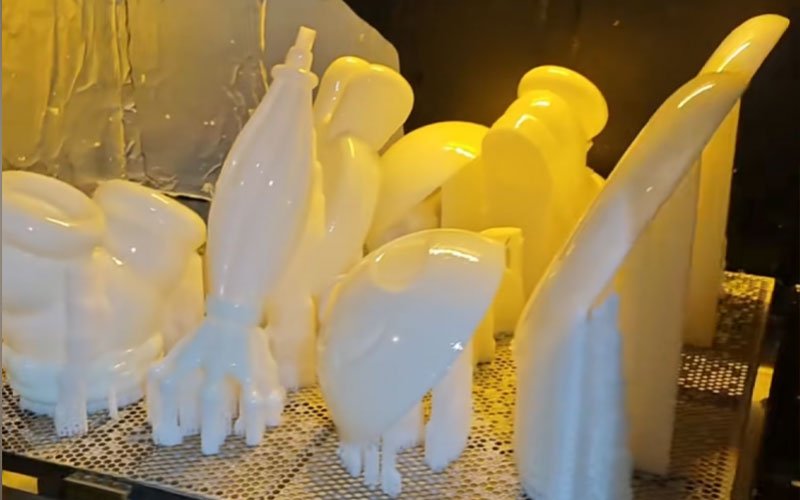
Fresh off the printer, these SLA (Stereolithography) resin parts show why 3D printing is king for complex geometries.
The Concept Verification Solution for Rapid Iteration and Low Cost
- Advantages: The advantage lies in “extremely fast iteration speed”—after modifying the design drawings, it can be reprinted immediately, which is suitable for multi-version comparison in the early stage of the product. Ultra-high geometric freedom, enabling the creation of internal hollow structures unmachinable by CNC.
- Disadvantages: The disadvantage is “limited material performance”, for example, resin prototypes are brittle and easy to break, cannot be used for load-bearing testing, and the surface has obvious layer lines, which need post-processing such as polishing and painting to be used for appearance display.
Cost-Influencing Factors
The core factors are “3D printing technology” (SLA Stereolithography Apparatus > FDM Fused Deposition Modeling, with higher precision), “material dosage” (the larger the prototype size and the more consumables, the higher the cost), and “post-processing requirements” (simple polishing has low cost, while fine polishing and painting will increase the cost).
Usage Precautions:
Not suitable for high-precision and high-strength requirements; if it needs to be used for appearance display, be sure to reserve post-processing time (1-2 days); when selecting materials, choose according to needs (resin is suitable for appearance, and powdered plastic is suitable for simple functional testing).
Rapid CNC Prototyping
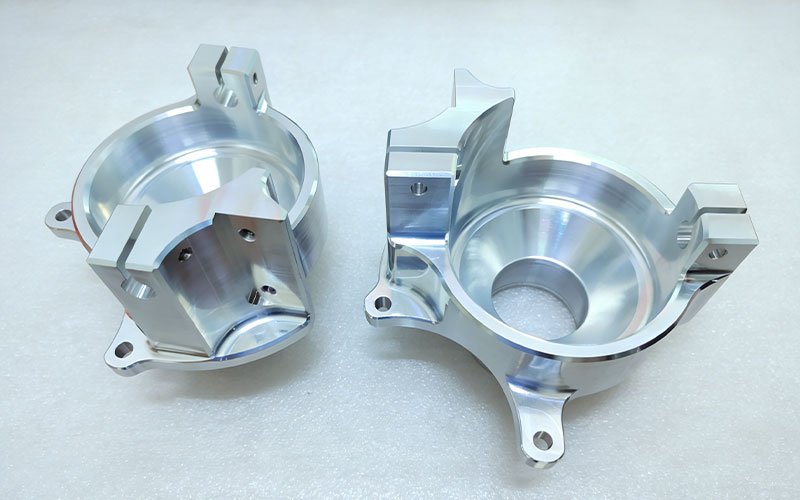
CNC machined Aluminum 6061 part, tight tolerances (down to ±0.05mm) required for rigorous functional testing and assembly verification.
The Preferred Solution for High Precision and High Adaptability
- Advantages: It processes various metal materials and a wide range of plastic materials, and supports multiple surface treatments—anodizing, sandblasting, polishing, spray painting, electroplating, brushing (for fine linear textures)—to meet diverse appearance and performance requirements, enabling direct application in high-strength functional tests including load-bearing, wear and corrosion resistance.
- Disadvantages: Compared to other prototype manufacturing methods like 3D printing and vacuum casting prototype, it has a higher overall manufacturing cost and a longer delivery cycle—this is particularly evident for single-piece and small-batch production runs.
Cost-Influencing Factors
The core influencing factors are “material type” (metal cost > plastic cost, titanium alloy > stainless steel > aluminum alloy > plastic), “prototype complexity” (complex structure > simple structure), and “post-processing requirements” (anodizing, polishing, painting, etc. will increase the cost).
Usage Precautions
Design drawings shall be designed for machinability to avoid overly complex internal cavities – those that cannot be split into individual machining steps may not be manufacturable – a key consideration that effectively reduces machining costs and shortens processing lead times.
Likewise, priority should be given to materials aligned with the performance and application requirements of your prototype: high-strength materials for prototypes with high mechanical strength demands, and aluminum-based materials for cosmetic or appearance components. This targeted material selection similarly cuts material costs and streamlines the overall machining cycle.
Vacuum Casting Prototyping
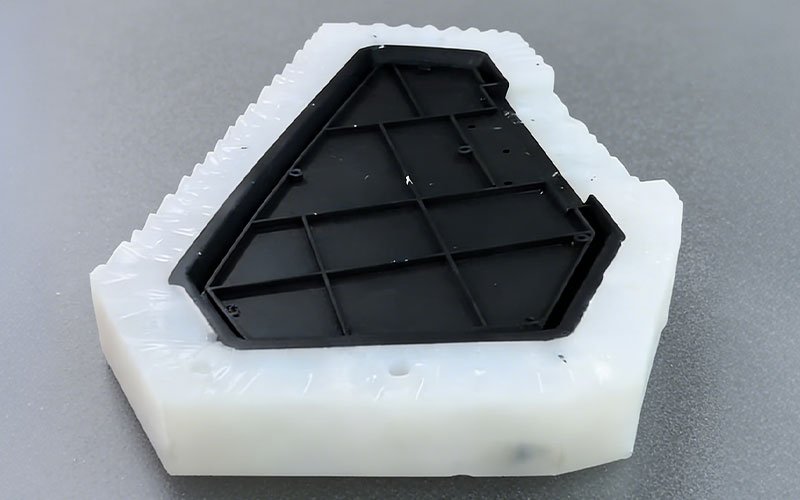
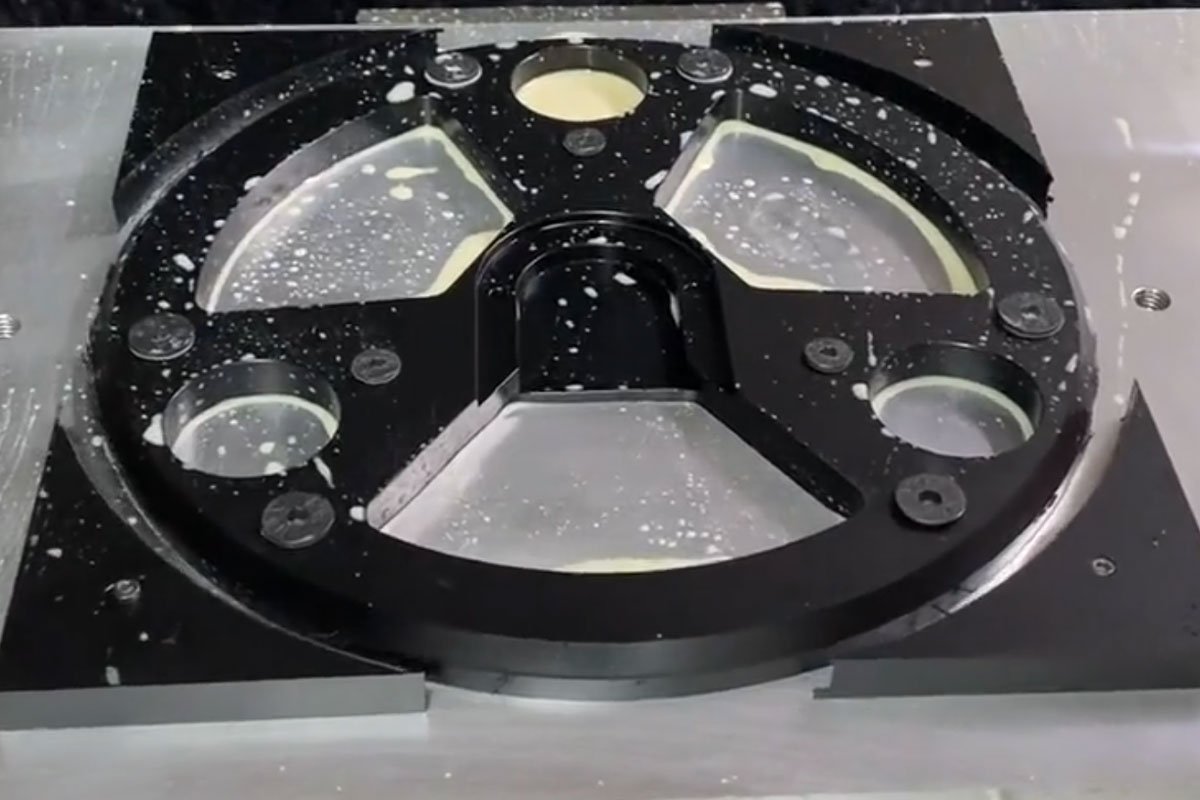
A silicone mold (Soft Tooling) used in Vacuum Casting. Unlike CNC machining which cuts from a block, or 3D printing which builds layers, this method uses a master model to create a mold. It is the most cost-effective way to produce 10-100 high-quality plastic parts that mimic the texture and properties of injection molding.
The Trial Production Solution for Small Batches and High Consistency
Vacuum Casting Prototyping first makes one master mold, then pours materials (such as silica gel, resin) into the mold through vacuum casting equipment to copy multiple identical prototypes, which is suitable for small-batch trial production scenarios. Optimal Applications – marketing demonstration prototypes, small-batch trial production, and even transitional production.
- Advantages: The advantage is “extremely high cost performance for small batches”—when 10-100 prototypes are needed, the cost per piece is more than 50% lower than that of CNC and 3D printing, and achieve injection molding-like surface finishes (textures, overmolding) at low cost, suitable for small-batch production
- Disadvantages: The disadvantage is “high cost of master mold”. If only 1-5 prototypes are needed, the cost is much higher than that of 3D printing, and the casting materials are mostly plastic and soft rubber, which cannot cast metal prototypes. Additionally, the strength of the product is not as high as that of products made with injection molding steel molds.
Cost-Influencing Factors
The core factors are “master mold cost” (the higher the precision and complexity of the master mold, the higher the cost), “casting batch” (the larger the batch, the lower the single-piece cost), and “casting material” (ordinary resin < soft rubber < high-performance resin).
Usage Precautions
Suitable for small-batch trial production, not for single-piece and large-batch production; the master mold should be made by CNC first to ensure casting precision; if the batch is < 10 pieces, choose 3D printing directly (no need to invest in master mold cost).
Common Misunderstandings to Avoid
Combined with actual R&D scenarios, 4 most common selection misunderstandings are summarized to help you avoid wasting money and delaying projects.
- Misunderstanding 1: Pursue “high precision” and choose CNC for all prototypes—if it is only for concept verification, 3D printing prototypes can meet the needs, and CNC will increase the cost by more than 50%.
- Misunderstanding 2: Pursue “low cost” and choose 3D printing for small-batch prototypes—when the batch is more than 10 pieces and less than 100 pieces, vacuum casting has lower cost and better appearance consistency.
- Misunderstanding 3: Ignore “post-processing cost”—if 3D printing prototypes need to be used for appearance display, the post-processing cost may exceed the printing cost, so it is necessary to reserve budget and time in advance.
- Misunderstanding 4: Think that “3D printing can replace all methods”—3D printing has limited precision and mechanical properties, and cannot replace the high precision of CNC and the small-batch advantage of vacuum casting.
Which Prototyping Process Fits Your Stage?
The choice of prototype manufacturing method is mainly about “matching the priority of needs”—there is no best method, only the most suitable one.
- Initial concept verification: 3D printing (low cost, fast speed)
- High-precision function/appearance: Rapid CNC Prototyping (preferred, suitable for metal and plastic)
- Small-batch trial production: Vacuum Casting Prototyping (obvious batch cost advantage)
In addition, the core purpose of prototype manufacturing is to “avoid risks and accelerate R&D”. There is no need to pursue “perfection excessively”. Choosing the most suitable method according to your own R&D stage, budget and needs can efficiently promote product launch.
Share this article

Written by : Alex
A quick overview of the topics covered in this article.
Latest articles
February 20, 2026
February 20, 2026
February 20, 2026